
Module 5 – Spreadsheets
Lesson 8 – Printing, Page Setup and Final Tasks
Before printing or sharing a spreadsheet, it is important to check layout, page setup and formatting. This lesson explains how to prepare spreadsheets for printing or exporting as a PDF.
1. Page Orientation
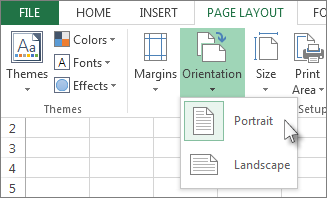
Orientation controls the direction of the printed page.
- Portrait – tall page (default).
- Landscape – wide page (better for large tables).
Interactive check: When would you choose Landscape?
When your spreadsheet has many columns and you need more horizontal space.
2. Paper Size
- A4 – standard size in the UK.
- Letter – used mainly in the USA.

Quick question: Which is standard in the UK?
A4
3. Margins
Margins control the empty space around the edges of the printed page.
- Normal margins – suitable for most work.
- Narrow margins – fit more data per page.
- Custom margins – user-defined.
Try it: What margin type helps fit large tables?
Narrow margins
4. Scaling Options
Scaling helps fit all data onto one page or fewer pages.
- Fit Sheet on One Page
- Fit All Columns on One Page
- Fit All Rows on One Page

Interactive check: Which option ensures nothing is cut off horizontally?
Fit All Columns on One Page
5. Page Breaks
- Automatic page breaks added by the system.
- Manual page breaks to control printing.
- Remove page breaks if needed.
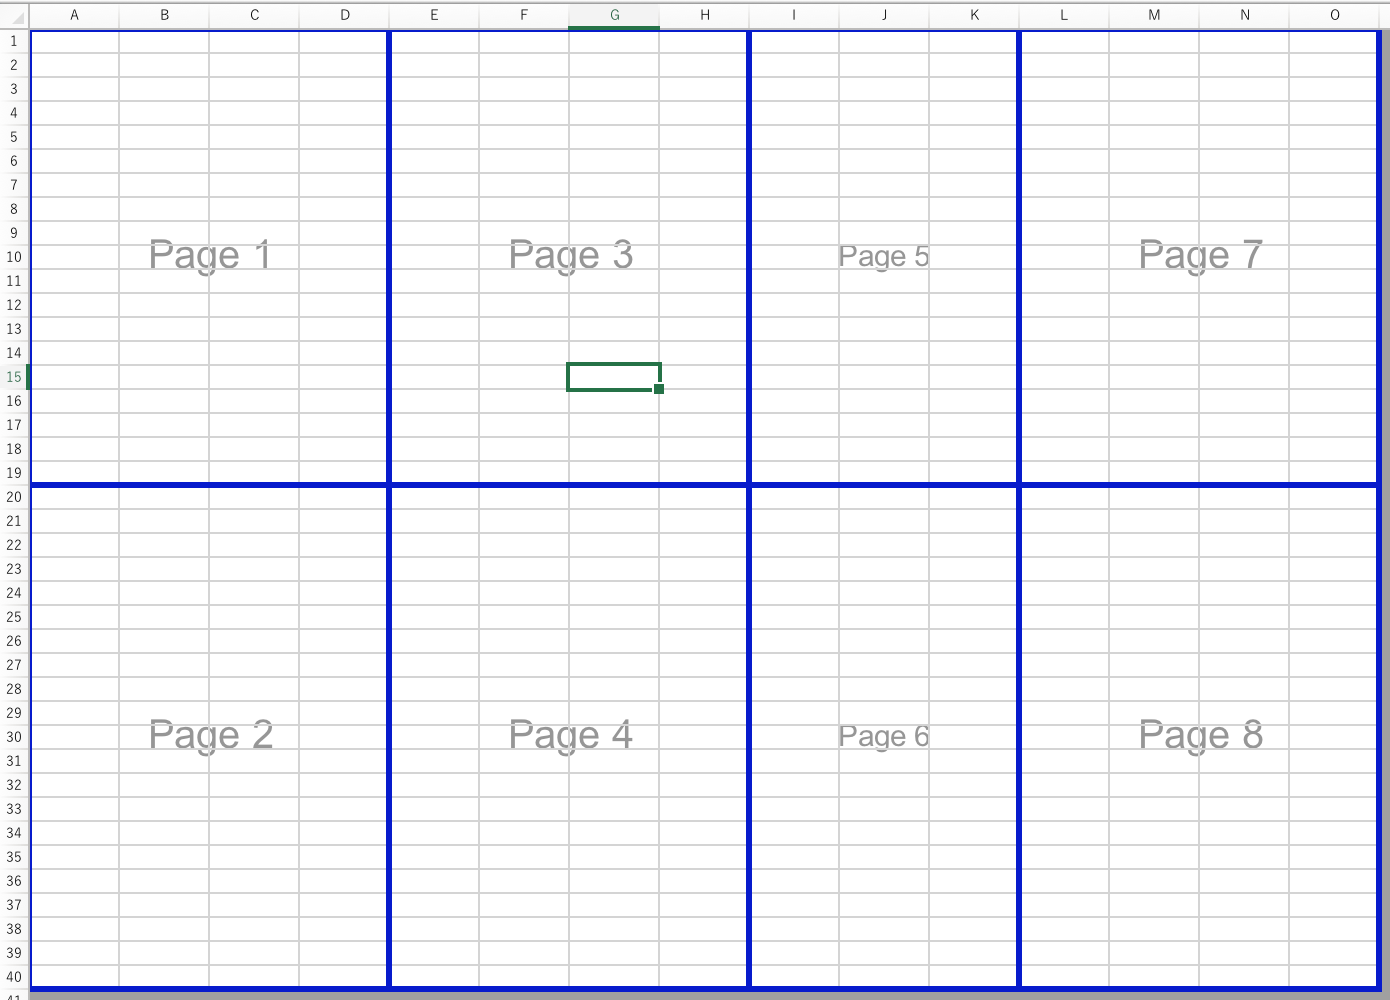
Quick check: What does a blue line usually indicate?
An automatic page break.
6. Print Area
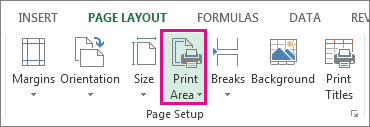
Print area allows printing only a selected part of the worksheet.
- Select the range to print.
- Go to Page Layout → Print Area → Set Print Area.
- To remove, select Clear Print Area.
Try it: Why might print area be useful?
To print only your final table and not extra notes or blank cells.
7. Headers and Footers
Headers appear at the top; footers appear at the bottom of every printed page.
Common uses:
- Page numbers
- Document title
- Date / time
- Company or school name

Interactive check: What should you ALWAYS include in long spreadsheets?
Page numbers
8. Repeat Rows and Columns
Repeating rows ensures headings appear on every printed page.
- Repeat Row 1 (headings) on all printed pages.
Why is this important for long tables?
So readers can see headings on every page without scrolling.
9. Print Preview
Print Preview shows exactly how the spreadsheet will look on paper.
Use it to:
- Check column widths
- Check page breaks
- Check orientation
- Ensure headings repeat
Quick check: What do you fix if text is cut off?
Adjust scaling or column widths.
10. Export to PDF
PDF is a secure and professional format for sharing spreadsheets.
Benefits:
- Keeps layout unchanged
- Prevents accidental changes
- Works on all devices

Interactive: Why send a spreadsheet as PDF?
Because it is locked, consistent, and safe for all users.
11. Final Checklist Before Printing
- Are column widths correct?
- Are headings visible?
- Is the print area set correctly?
- Is orientation correct?
- Do you need gridlines?
- Do you want page numbers?
- Is the scaling suitable?
12. Practical Activity
- Open a multi-row spreadsheet.
- Set the sheet to Landscape orientation.
- Apply Fit All Columns on One Page.
- Insert a header with the file name.
- Add page numbers to the footer.
- Repeat Row 1 on every printed page.
- Preview the print layout.
- Export the final result as a PDF.