
Advanced Module – Presentations
Lesson 3 – Advanced Text and Paragraph Formatting
This lesson explains how to apply advanced formatting to text, paragraphs and text objects to improve clarity, accessibility and professional appearance. It aligns with ICDL syllabus requirements for handling graphical and text objects.
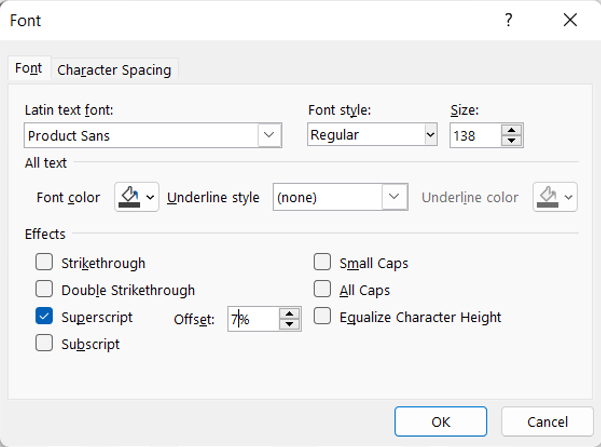
1. Advanced text formatting
Advanced formatting helps highlight key information while maintaining readability.
- Font style: bold, italic, underline.
- Font size and scaling for emphasis.
- Font colour with high contrast.
- Character spacing (expanded or condensed) for headings.
- Text effects: shadow, reflection, glow and soft edges.
- Restore original formatting when needed.
2. Paragraph alignment and spacing
Paragraph formatting ensures your text is readable and well structured.
- Horizontal alignment: left, centre, right, justified.
- Vertical alignment inside text boxes: top, middle, bottom.
- Line spacing: single, 1.5, double, or custom spacing.
- Paragraph spacing before and after paragraphs.
- Indentation to create bullet hierarchy.
3. Working with text boxes
Text boxes provide flexible placement of content on the slide.
- Insert using Insert > Text Box.
- Resize using corner and side handles.
- Use “Do Not Autofit” to prevent unwanted shrinking.
- Enable text wrapping to contain text within the box.
- Position text boxes precisely using alignment tools.
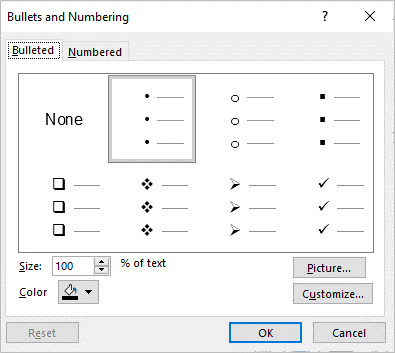
4. Bullet and numbering options
Bullets and numbering help organise information clearly.
- Use built-in bullet icons or custom image bullets.
- Adjust bullet size, colour and spacing.
- Create multi-level bullet lists to structure ideas.
- Use numbering for sequences, steps or processes.
- Reset text formatting to remove unnecessary layers.
5. Converting text to SmartArt
SmartArt transforms text into visual diagrams for improved communication.
- Select the text list.
- Choose Convert to SmartArt on the ribbon.
- Select layouts such as process, cycle, hierarchy or relationship diagrams.
- Edit SmartArt using shape, layout and colour options.
6. Using WordArt for emphasis
WordArt allows decorative text effects for titles or key messages.
- Choose predefined WordArt styles for visual impact.
- Apply transformations, outlines and effects.
- Avoid overuse—keep slides clear and professional.
7. Text direction and rotation
Rotating or reorienting text helps fit unique slide layouts.
- Rotate text 90° for side headings.
- Use vertical text in charts or diagrams.
- Apply subtle angle rotations for design flexibility.
8. Aligning and distributing text objects
Precise alignment improves slide readability and visual balance.
- Align objects left, centre, right, top, middle or bottom.
- Distribute objects evenly horizontally or vertically.
- Use Align to Slide for exact placement.
- Use Align Selected Objects to position grouped items.
- Display or hide rulers, gridlines and guides to support alignment.

9. Accessibility considerations
Formatting choices should support accessible, readable slides.
- Use clear fonts with sufficient size.
- Ensure strong contrast between text and background.
- Avoid text placed over busy images.
- Use simple language and avoid large blocks of text.
- Add alt text to meaningful graphics when they accompany text.
10. Practical Activity
- Create a slide with a title and two text boxes.
- Apply advanced font formatting including character spacing and text effects.
- Adjust paragraph spacing and indentation for clarity.
- Create a custom bullet list with multiple levels.
- Convert one bullet list to SmartArt.
- Use alignment and distribution tools to position text objects accurately.