
Advanced Module – Presentations
Lesson 8 – Output & Distribution
This lesson explains how to prepare a presentation for printing, exporting, sharing, and distributing. You will learn about printing layouts, exporting to PDF/video, packaging presentations, and choosing the correct output method for different audiences.
1. Preparing a Presentation for Output
Before printing or exporting your slides, check layout and content:
- Ensure fonts, colours, and images display correctly.
- Remove unnecessary slides.
- Check spelling and final formatting.
- Run an Accessibility Check to ensure content is readable.

2. Printing Options
Use File > Print to choose the print layout. Common print layouts:
- Full Page Slides – one slide per page.
- Handouts – multiple slides per page (e.g., 2, 3, 6 slides).
- Notes Pages – printed slides with speaker notes.
- Outline – prints text only.
Recommended use:
- Handouts → for audience copies.
- Full Page → when quality and detail matter.
- Notes Pages → for presenter use.

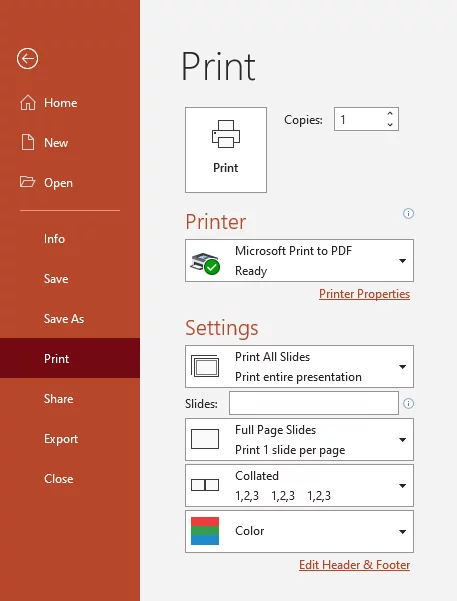
3. Print Settings
- Select printer or choose Print to PDF.
- Choose Portrait or Landscape.
- Select Colour, Grayscale, or Black & White.
- Choose which slides to print (All, Selection, Custom Range).
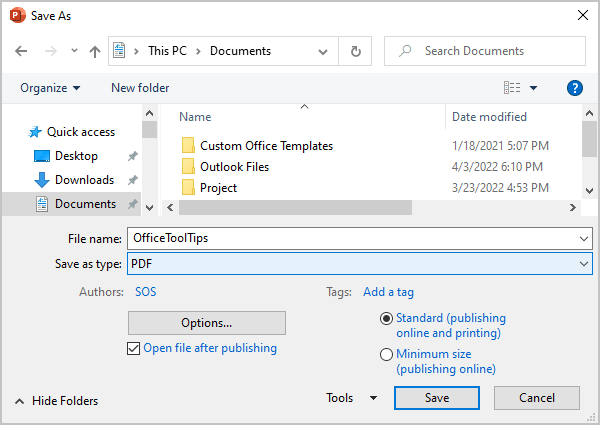
4. Exporting as PDF
PDF is the most common format for sharing presentations.
- Go to File > Export > Create PDF.
- Choose what to export: slides, handouts, notes pages, or outline.
- PDF preserves layout and prevents accidental editing.
Good practice:
- Use PDF for emailing or uploading documents.
- Use handout layout in PDF to save paper.
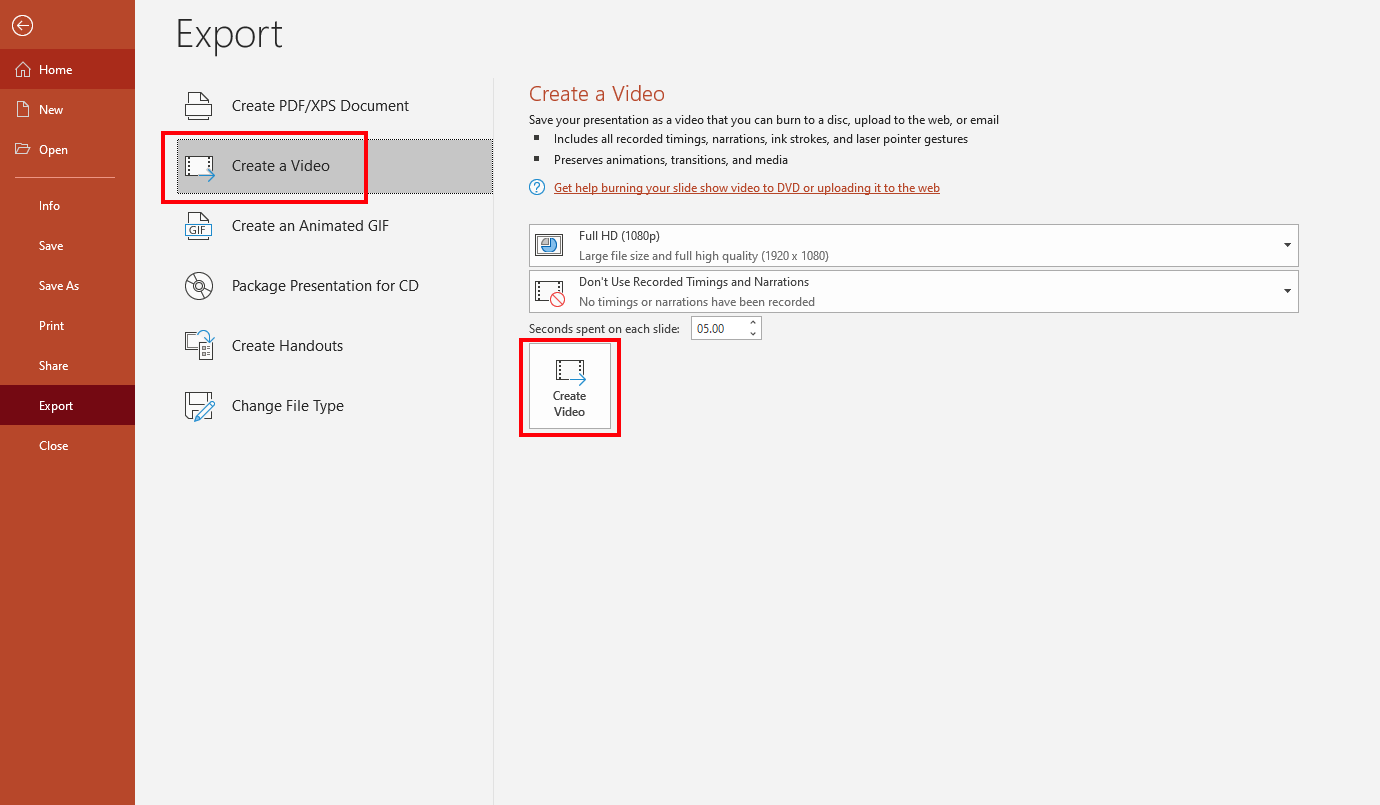
5. Exporting as Video
You can turn your presentation into a video for social media, websites, or training materials.
- Go to File > Export > Create a Video.
- Select video quality (HD, Full HD, 4K where available).
- Choose timings and narration options.
- Save as an MP4 video.
Use video export for:
- Online courses
- Automated presentations
- Public displays
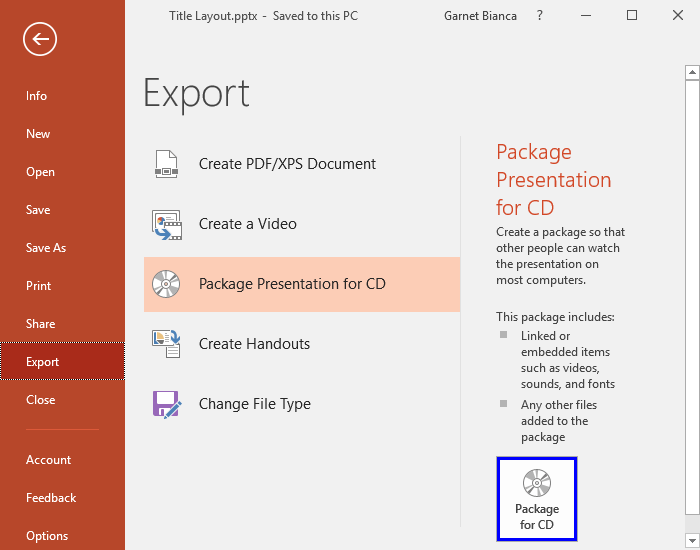
6. Packaging a Presentation
Packaging ensures all fonts, videos, and links work on another computer.
- Use Export > Package Presentation for CD (PowerPoint feature).
- Includes all media files automatically.
- Useful when presenting on unfamiliar devices.
7. Sharing via Cloud Platforms
Cloud services allow easy distribution and collaboration.
- Upload to OneDrive, SharePoint, Google Drive.
- Click Share to invite others to view or edit.
- Use View-only links when you don’t want changes.

8. Exporting as Images
You can save slides as individual high-quality images.
- Go to File > Export > Change File Type > JPEG/PNG.
- Choose to export a single slide or the whole presentation.
Uses:
- Posters or promotional material
- Social media sharing
- Embedding slides into documents
9. Checking Compatibility
Before sending a file to someone using another version of PowerPoint:
- Use File > Info > Check for Issues > Check Compatibility.
- Reports unsupported features (fonts, animations, effects).
10. Good Practices for Output & Distribution
- Export to PDF for safe, consistent sharing.
- Use handouts for printed audience notes.
- Package presentations when using embedded videos.
- Check print preview before printing large documents.
- Choose distribution format based on audience needs.
11. Practical Activity
- Print a presentation as handouts (3 slides per page).
- Export the same presentation as a PDF.
- Create a video at 1080p resolution.
- Package your presentation for another computer.
- Upload the file to a cloud service and generate a share link.