
Advanced Module – Presentations
Lesson 5 – Animations and Transitions
This lesson explains how to apply advanced animations and slide transitions to control how content appears, moves and behaves during a presentation. These tools improve clarity, storytelling and audience engagement when used correctly.
1. What are animations?
Animations control how objects (text, images, shapes, charts, SmartArt) appear or move on a slide.
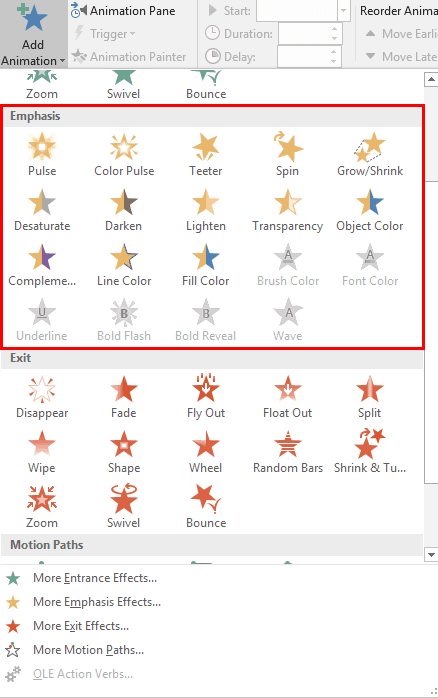
Types of animations:
- Entrance – how an object appears (Fade, Fly In).
- Emphasis – highlights an object already on screen (Pulse, Spin).
- Exit – how an object leaves the slide (Fade Out, Fly Out).
- Motion Paths – moves objects along a path (Line, Curve, Custom Path).
2. Applying animations
- Select the object (text box, shape, image, chart).
- Go to the Animations tab.
- Choose an animation effect.
- Use Add Animation to apply multiple effects to one object.
- Use Effect Options to change direction, sequence or visual behaviour.
Good practice: Keep animations simple and purposeful. Avoid overusing dramatic effects.
3. Animation order and the Animation Pane
The Animation Pane shows the sequence and timing of all animations on a slide. This is essential for controlling how information is revealed.
- Reorder animations by dragging items in the pane.
- Rename objects in the Selection Pane to avoid confusion.
- Use numbered animation tags on objects to confirm order.

4. Timing: Start, Duration and Delay
- Start On Click – animation plays when clicked.
- Start With Previous – animation plays at the same time as another.
- Start After Previous – animation plays automatically after the previous effect.
- Duration – controls animation speed.
- Delay – waits before animation begins.
Tip: Smooth, slower animations look more professional.
5. Animating text
Text boxes and bullet lists can be animated in stages to improve pacing and clarity.
- Animate By Paragraph (each bullet appears separately).
- Use By Word or By Letter for emphasis.
- Use Effect Options to choose direction (From Bottom, From Left, etc.).
- Use built-in settings to dim bullets after animation to focus attention (ICDL requirement).
6. Motion paths
Motion paths let objects move across the slide.
- Select preset paths such as Line, Arc, Turn.
- Edit the path by dragging start/end points.
- Create custom curved or freehand paths for unique movement.
- Adjust rotation and smoothing for realistic motion.

7. Triggers (Advanced)
Triggers start animations only when a specific object is clicked, allowing interactive slides.
- Select animation → Trigger → On Click of…
- Create interactive content such as quizzes, reveals or menus.
- Use with caution—triggers require careful timing and layout.
8. Animating charts
Charts have their own animation options.
- Animate By Series (one data set at a time).
- Animate By Category (one label at a time).
- Animate By Element in Series for detailed reveals.
- Choose whether to animate chart gridlines and legend (ICDL requirement).
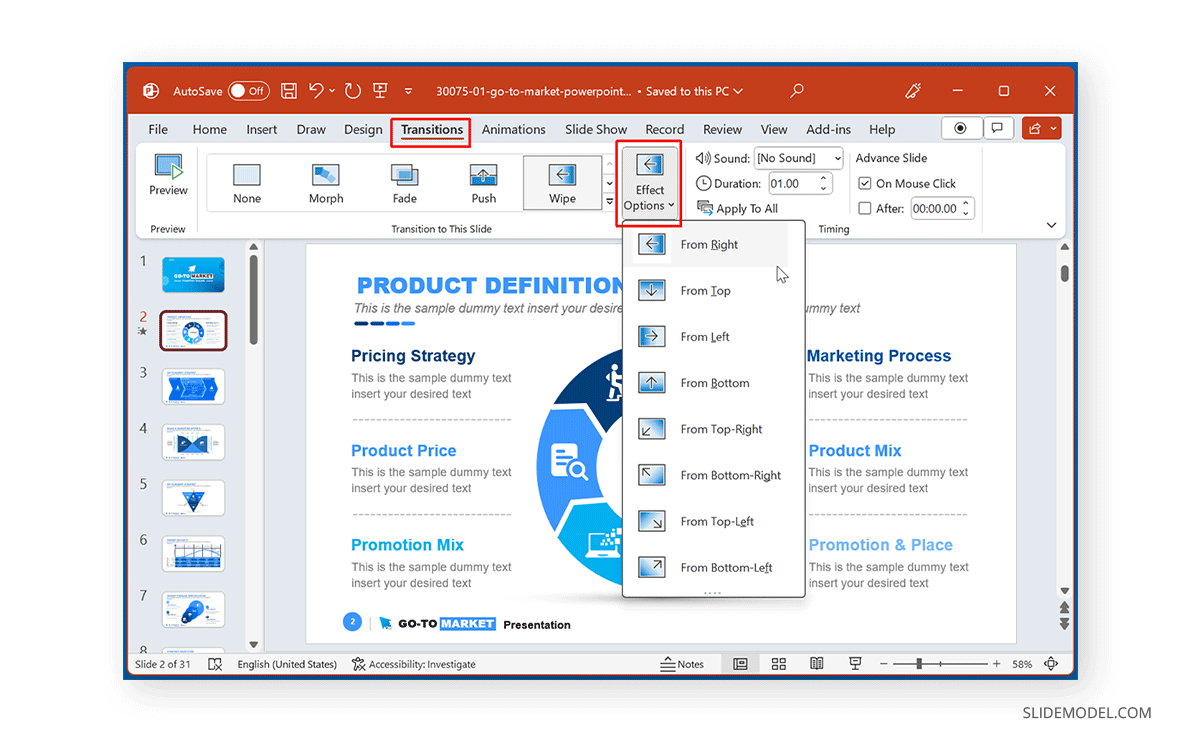
9. Transitions between slides
Transitions control how one slide changes into the next.
- Simple transitions: Fade, Push, Wipe (recommended).
- Dynamic transitions: Gallery, Pan, Flip (use sparingly).
- Use Duration to soften the effect.
- Apply to one slide, or use Apply to All for consistency.
- Avoid overly dramatic transitions that distract from your message.
10. Animation and transition best practices
- Keep animations subtle and consistent throughout the presentation.
- Use transitions that match the tone and purpose.
- Avoid mixing too many styles or effects.
- Test animations in Slide Show mode to ensure timing feels natural.
- Ensure animations enhance understanding, not distract.
11. Practical Activity
- Add entrance animations to three objects.
- Animate bullet points individually.
- Create a motion path for one object.
- Set an animation to Start After Previous.
- Add a Fade transition to all slides.
- Create one slide that uses a trigger-based animation.
- Animate a chart by category or series.